📚 参考文章
🐙 GitHub 操作流程
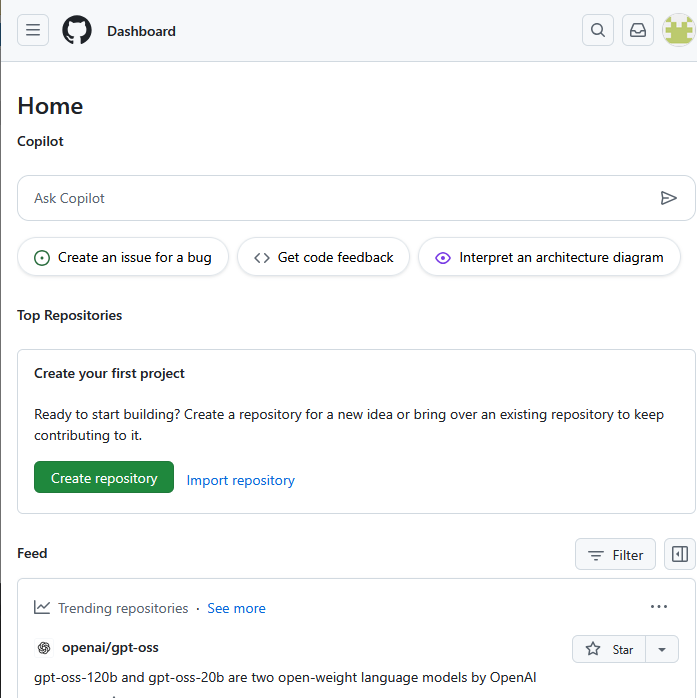
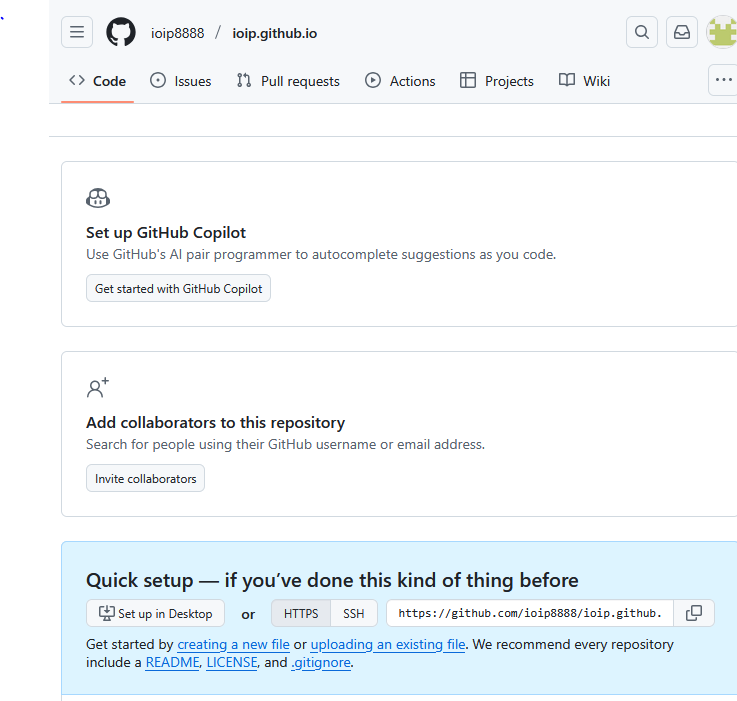
1️⃣ 创建仓库
注册并登录 GitHub 账号
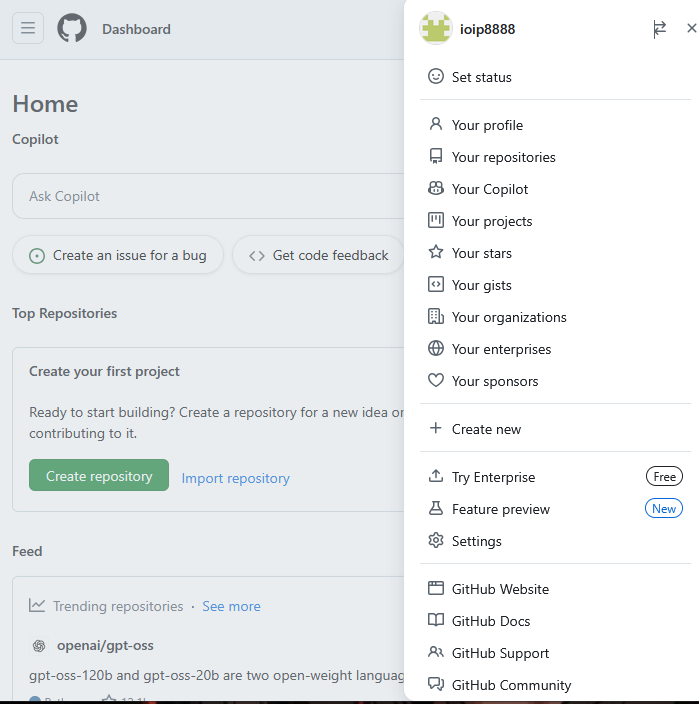
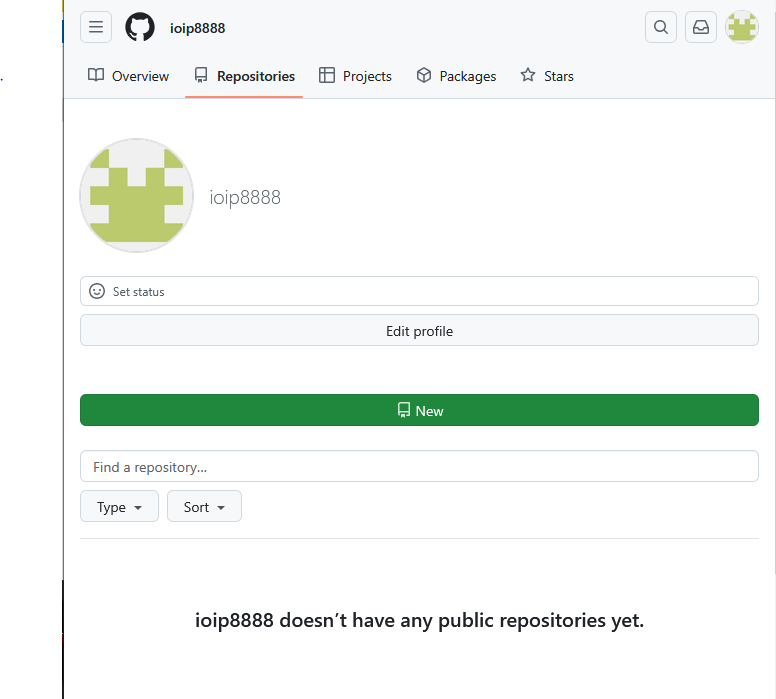
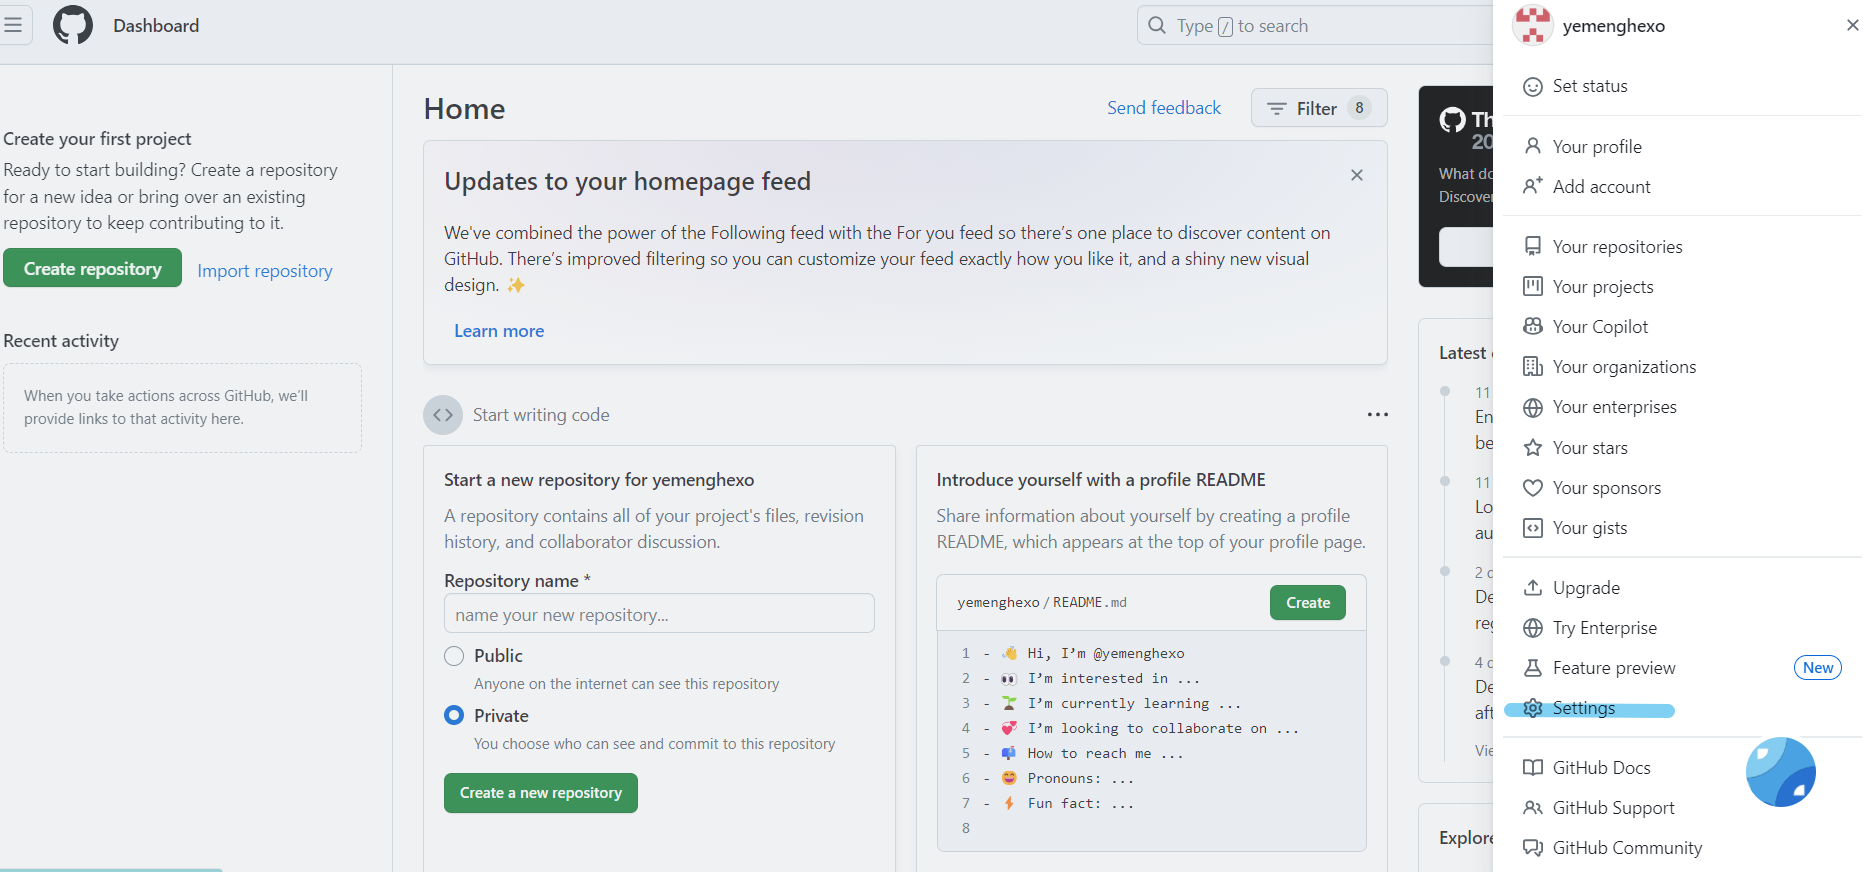
进入主界面 → 点击头像 → 进入仓库页面
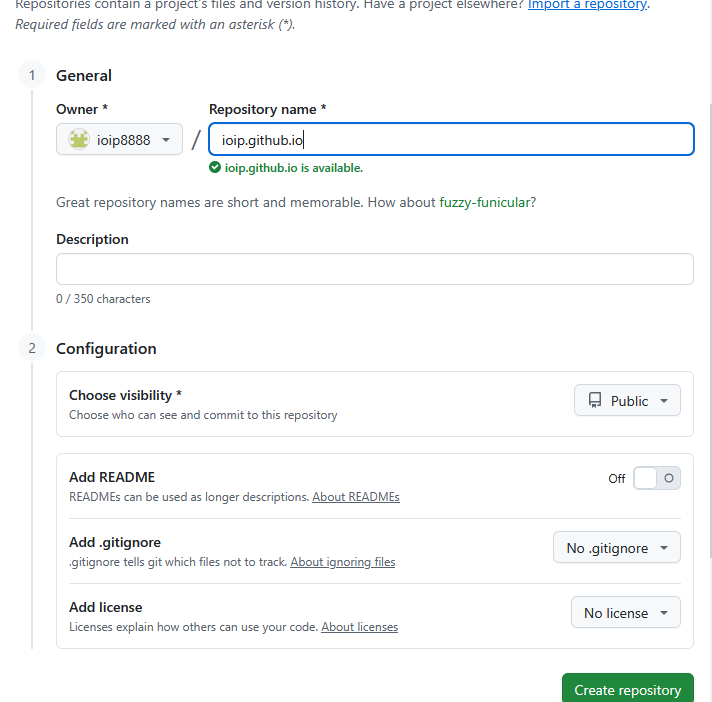
创建新仓库,命名为 xx.github.io(不强制使用用户名作为前缀)

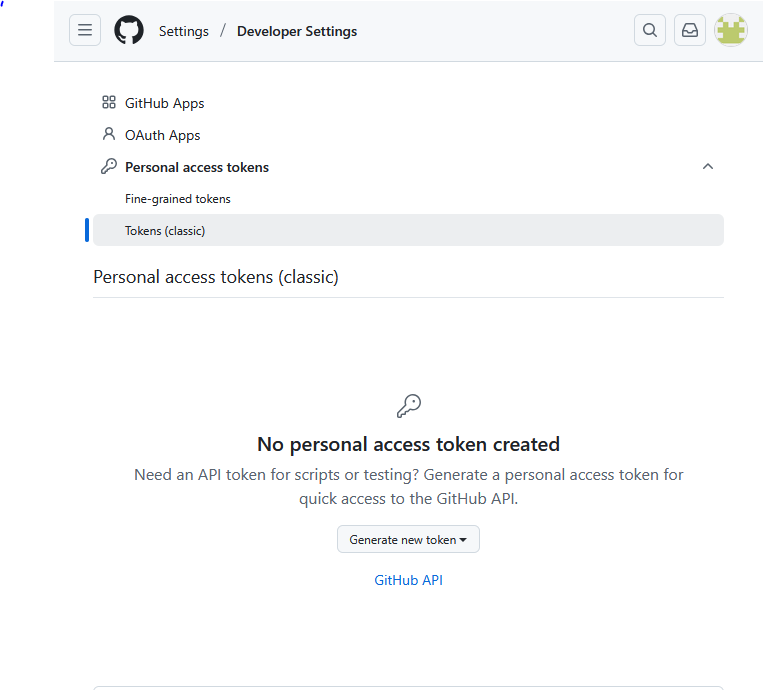
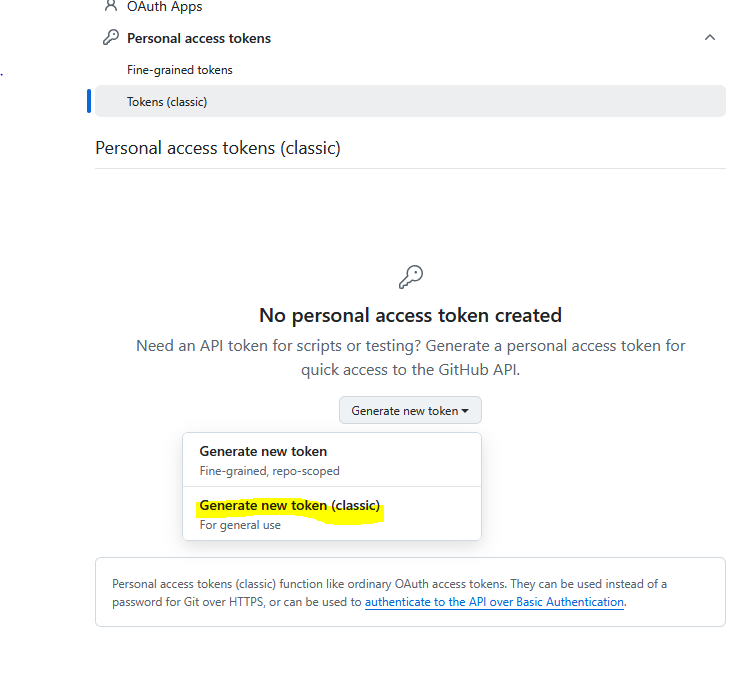
2️⃣ 获取 Token
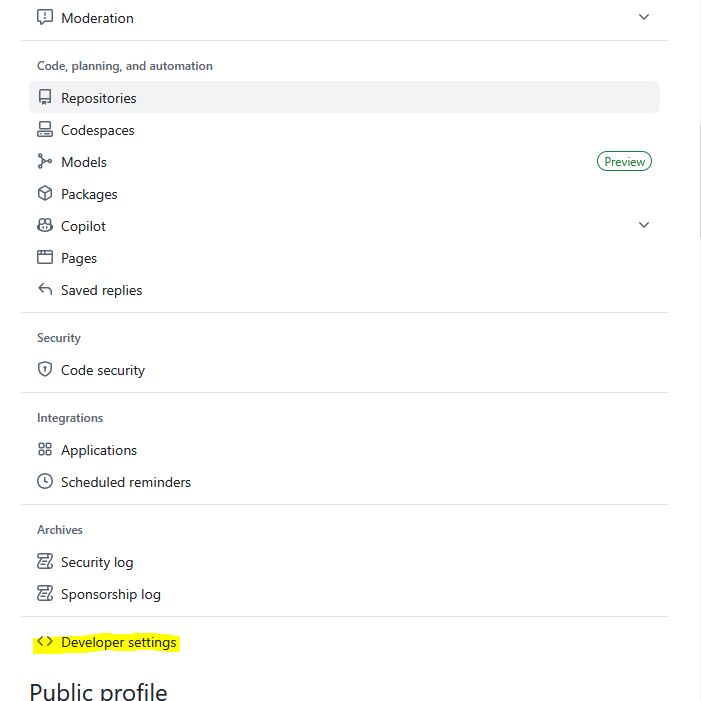
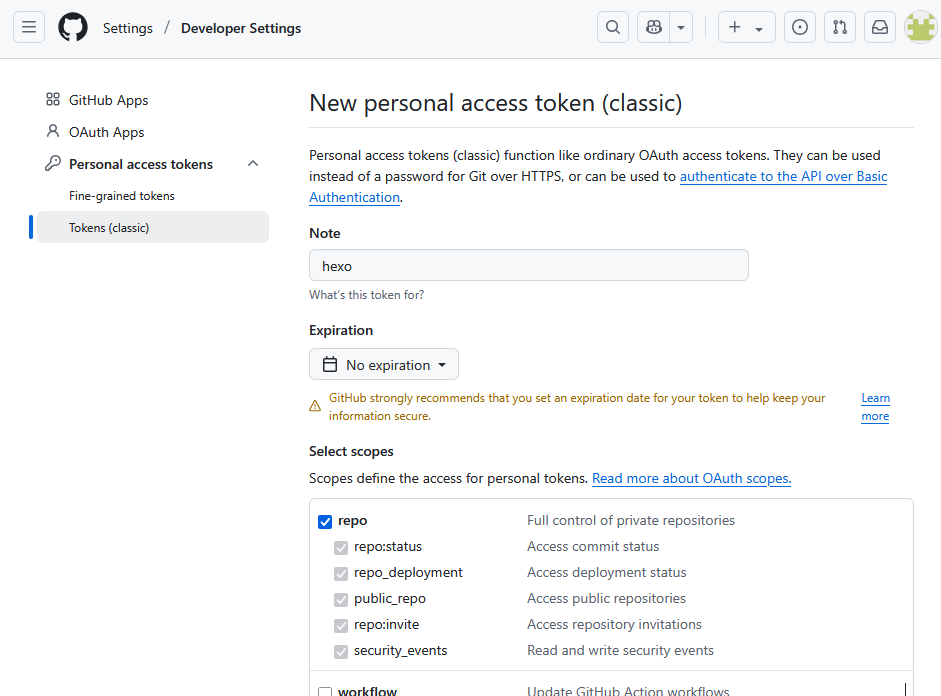
进入:头像 → Settings → Developer Settings
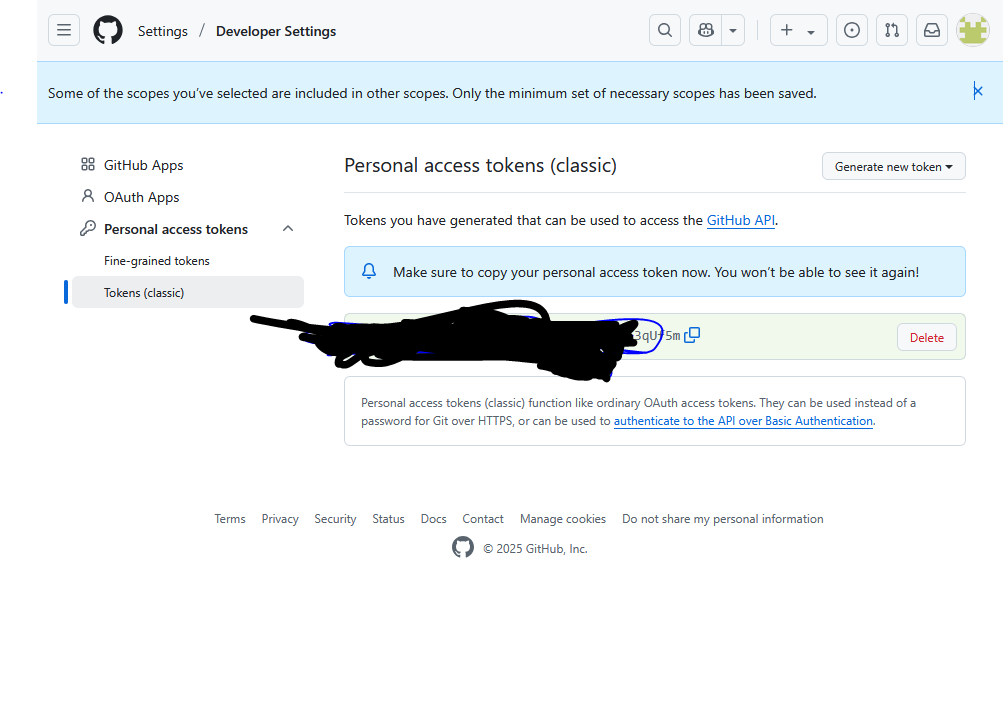
创建 Personal access token,至少勾选 repo 权限
记住生成的 token,它将用于 GitHub Actions 自动部署
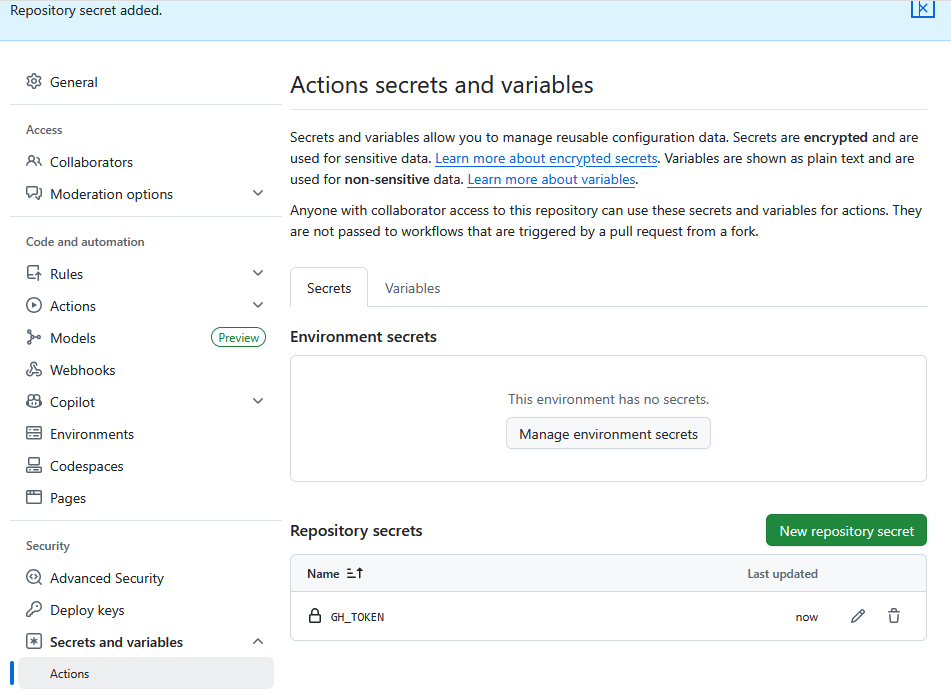
3️⃣ 添加 Token 到仓库
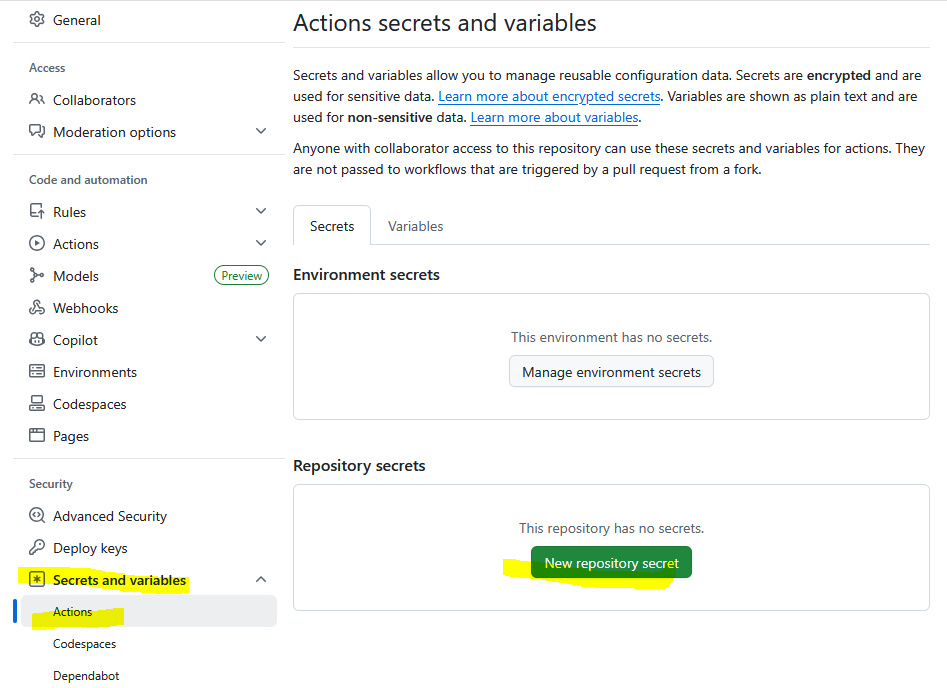
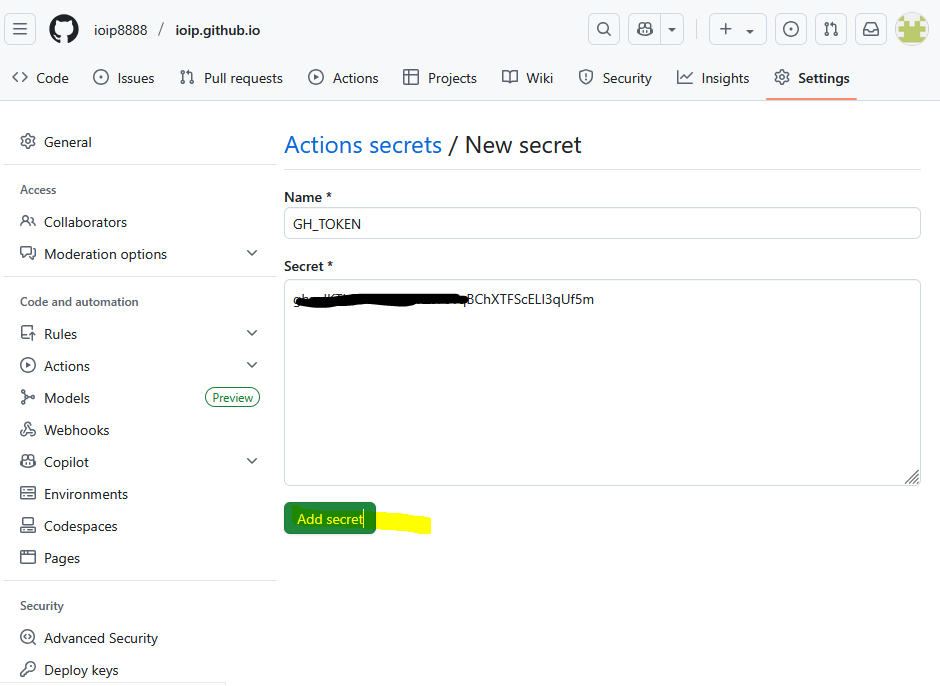
进入 Hexo 项目仓库 → Settings → Secrets
新增名为 GH_TOKEN 的密钥(名称可自定义,但需与工作流一致)
4️⃣ 配置 SSH 密钥(解决国内网络问题)
安装必要工具:
生成 SSH 密钥:
1
2
3
| git config --global user.name "你的 GitHub 用户名"
git config --global user.email "你的 GitHub 邮箱"
ssh-keygen -t rsa -C "你的 GitHub 邮箱"
|
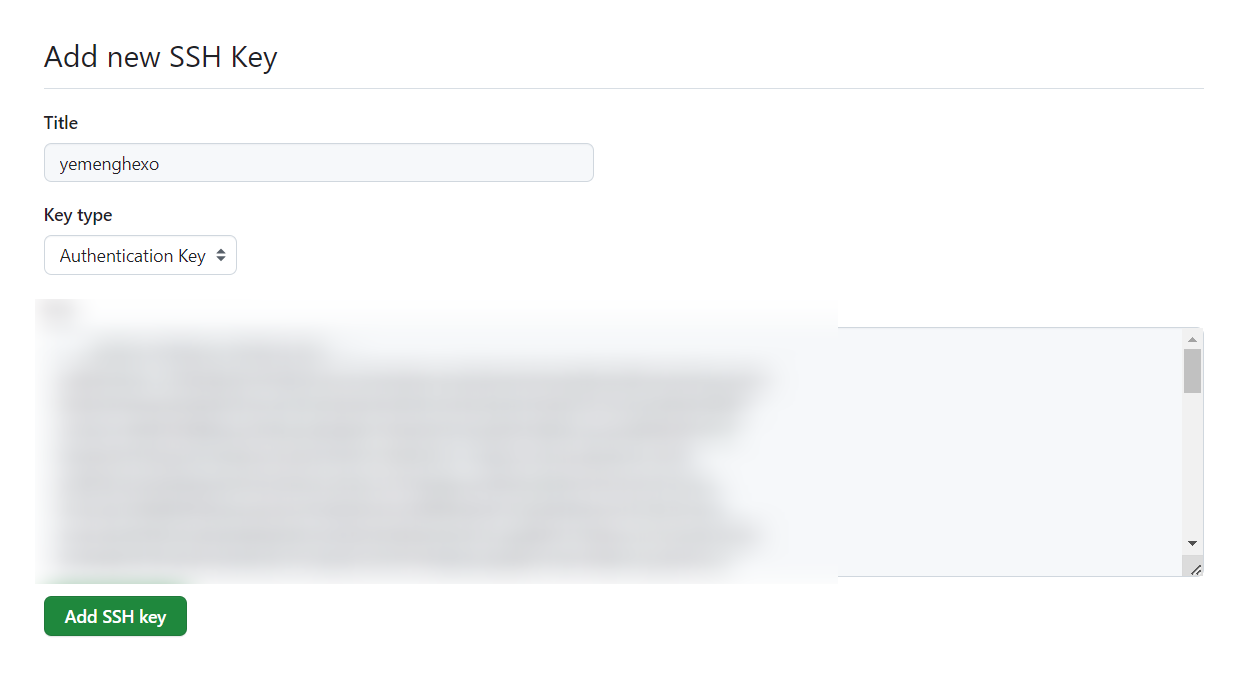
一路回车,进入 C:\Users\你的用户名\.ssh,复制 id_rsa.pub 内容
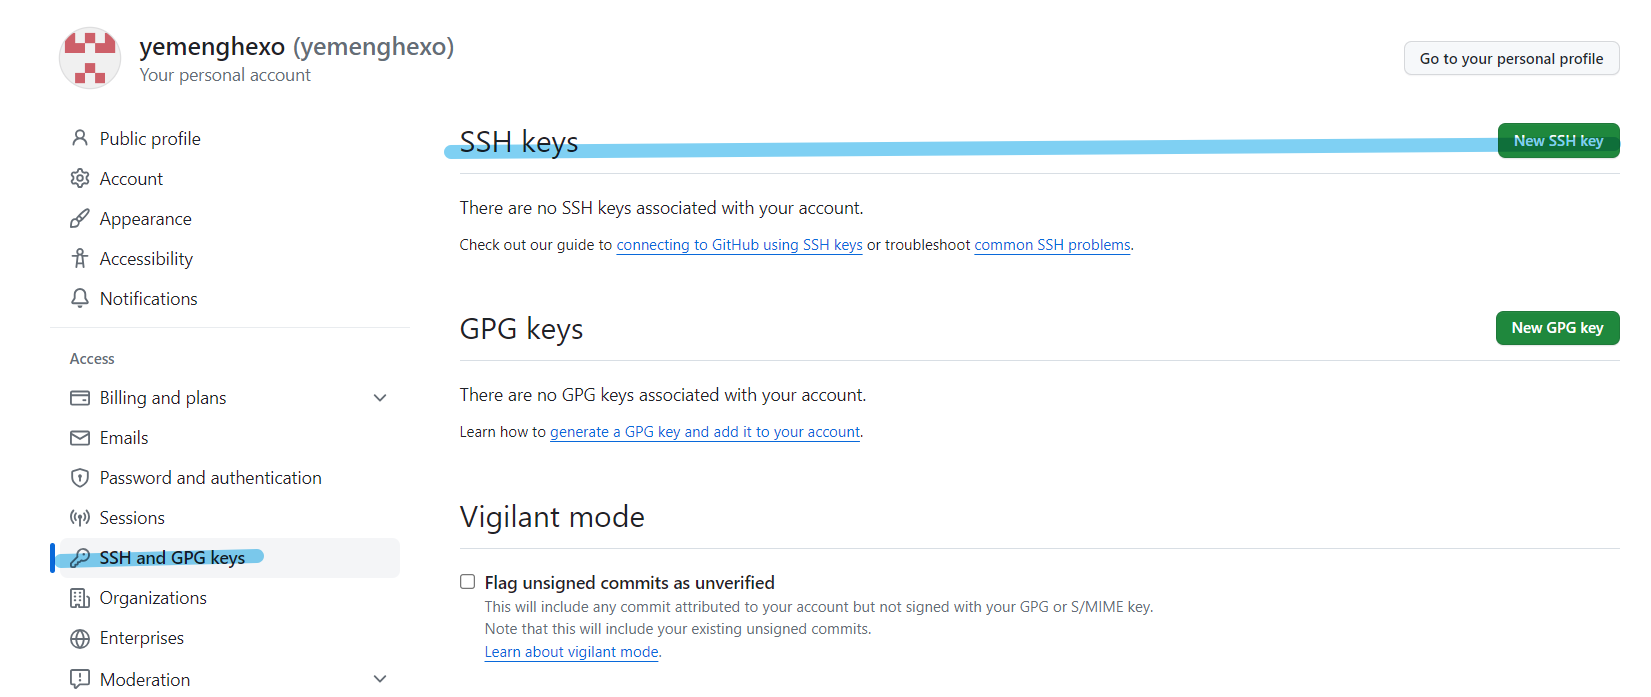
添加到 GitHub → Settings → SSH and GPG keys → New SSH key


切换远程地址为 SSH:
1
| git remote set-url origin git@github.com:yourusername/your-repo.git
|
🏗️ 本地配置 Hexo
1️⃣ 初始化 Hexo 项目
1
2
3
4
| npm install -g hexo-cli
hexo init blog
cd blog
npm install
|
2️⃣ 初始化 Git 仓库
1
2
3
4
5
| git init
git remote add origin https://github.com/yourusername/your-repo.git
git add .
git commit -m "Initial commit"
git push -u origin main
|
⚙️ 配置 GitHub Actions 工作流
在项目根目录下创建 .github/workflows/deploy.yml 文件,内容如下:
1
2
3
4
5
6
7
8
9
10
11
12
13
14
15
16
17
18
19
20
21
22
23
24
25
26
27
28
29
30
31
32
33
34
35
36
37
38
39
40
41
42
43
44
45
46
47
48
| name: Deploy Hexo to GitHub Pages
on:
push:
branches:
- main
jobs:
build:
runs-on: ubuntu-latest
steps:
- name: Checkout repository
uses: actions/checkout@v2
- name: Setup Node.js
uses: actions/setup-node@v2
with:
node-version: '18'
- name: Install Dependencies
run: npm install
- name: Install Hexo Git Deployer
run: |
npm install hexo-deployer-git --save
npm install hexo-cli -g
- name: Clean and Generate Static Files
run: |
hexo clean
hexo generate
- name: Configure Git
run: |
git config --global user.name 'github-actions[bot]'
git config --global user.email 'github-actions[bot]@users.noreply.github.com'
- name: Deploy to GitHub Pages
env:
GH_TOKEN: ${{ secrets.GH_TOKEN }}
run: |
cd public/
git init
git add -A
git commit -m "Create by workflows"
git remote add origin https://${{ secrets.GH_TOKEN }}@github.com/yourusername/your-repo.git
git push origin HEAD:gh-pages -f
|
3️⃣ 推送验证
1
2
3
| git add .
git commit -m "Initial commit 2"
git push -u origin main
|
GitHub 会自动触发工作流,生成 gh-pages 分支。
4️⃣ 配置 GitHub Pages
进入仓库 → Settings → Pages
选择 gh-pages 分支作为发布源
部署完成后即可访问你的博客网站